


















The Ultimate Raw Homemade Chocolate Bar Recipe
Your guide to creating a silky‑smooth, nutrient‑dense, 100 % raw chocolate bar right in your kitchen.
Table of Contents
- Why Go Raw? The Science Behind Raw Chocolate
- Key Benefits of a Raw Homemade Chocolate Bar
- Essential Ingredients & Equipment
- Step‑by‑Step: Crafting the Perfect Raw Chocolate Bar
- Flavor‑Boosting Variations & Mix‑Ins
- Storing & Serving Your Raw Chocolate Bars
- Nutritional Snapshot (Per 30 g Bar)
- Frequently Asked Questions
- Final Thoughts & Inspiration
- Disclaimer & Safety Notice
- Why Go Raw? The Science Behind Raw Chocolate
When you hear “raw chocolate,” you might picture a bitter, gritty slab that belongs in a health‑food store. In reality, raw chocolate is a minimally processed form of cacao that retains most of its natural phytonutrients—especially flavonoids, magnesium, iron, and heart‑healthy antioxidants.
- Low‑Heat Processing: Traditional chocolate is roasted at 120‑150 °C (250‑300 °F), which can degrade up to 70 % of the delicate polyphenols. In raw chocolate, the cacao beans are kept below 42 °C (108 °F) throughout processing, preserving more of the beneficial compounds.
- No Refined Sugars: Raw recipes typically replace refined white sugar with raw sweeteners such as raw agave syrup, coconut sugar, or maple syrup, keeping the glycemic impact lower.
- Clean‑Eating Friendly: By eliminating dairy, gluten, soy, and artificial additives, raw chocolate aligns perfectly with paleo, vegan, and whole‑food lifestyles.
So, if you desire a vegan chocolate bar that feels indulgent yet offers a nutritional edge, raw chocolate is the answer.
- Key Benefits of a Raw Homemade Chocolate Bar
| Benefit | How It Works |
| Antioxidant Powerhouse | Raw cacao contains up to 20 × more antioxidants than green tea, helping combat oxidative stress. |
| Mood‑Boosting | Theobromine, phenylethylamine, and anandamide in raw cacao act as natural mood enhancers, supporting serotonin production. |
| Heart Health | Flavonoids improve vascular function, lower blood pressure, and reduce LDL oxidation. |
| Mineral Rich | One ounce delivers ~30 % of the daily magnesium requirement—crucial for muscle function and nerve health. |
| Blood‑Sugar Friendly | Low‑glycemic sweeteners prevent sharp blood‑sugar spikes, making it suitable for most diabetics (consult a physician). |
| Customizable | You control every ingredient—perfect for allergy‑free or specific macro‑focused diets. |
- Essential Ingredients & Equipment
Core Ingredients (Makes 2 × 100 g Bars)
| Amount | Ingredient | Why It Matters |
| 1 cup (≈120 g) | Raw cacao nibs (or raw cacao paste) | Base flavor & antioxidant source |
| ½ cup (≈100 g) | Raw, unrefined sweetener (agave syrup, maple syrup, or coconut sugar) | Natural sweetness without refined sugar |
| ¼ cup (≈60 ml) | Cold‑pressed extra‑virgin coconut oil | Provides smooth texture & healthy MCTs |
| 2 Tbsp | Raw almond butter (or sunflower seed butter for nut‑free) | Adds creaminess & stabilizes the bar |
| ¼ tsp | Sea salt | Enhances cocoa depth |
| 1 tsp | Pure vanilla extract (optional) | Aromatic nuance |
| 1 tsp | Lemon or orange zest (optional) | Brightens flavor profile |
Optional Superfood Boosters (choose 1‑2)
- 1 Tbsp Maca powder – hormonal balance.
- 1 Tbsp Cacao nibs – extra crunch.
- 1 Tbsp Ground chia seeds – omega‑3 fiber.
- 2 Tbsp Coconut sugar – caramel notes.
Equipment Checklist
- High‑speed blender or food processor (minimum 1500 W) – essential for grinding cacao nibs into a fine paste.
- Silicone chocolate bar molds (or parchment‑lined mini loaf pan).
- Rubber spatula – to scrape down sides.
- Digital kitchen scale – precise measurements.
- Thermometer (optional) – to ensure the mixture stays below 42 °C.
- Small whisk or hand‑mixer – for emulsifying sweetener & oil.
Pro tip: If you lack a food processor, a high‑quality coffee grinder works for creating a fine cacao powder; just grind in batches to avoid overheating.
- Step‑by‑Step: Crafting the Perfect Raw Chocolate Bar
Estimated total time: 30 minutes (plus 1 hour chill time)
Yield: 2 × 100 g bars (approx. 12 servings)
4.1 Prepare Your Workspace
- Sanitize all bowls, utensils, and molds with hot, soapy water.
- Set the temperature: Keep your kitchen cool (≤20 °C/68 °F). If it’s warm, run a fan or work in a basement to keep the cacao melt from separating.
4.2 Grind the Cacao Nibs
- Add raw cacao nibs (or raw cacao paste) to the blender.
- Pulse for 30 seconds, then scrape the sides.
- Continue pulsing until the mixture forms a smooth, glossy paste without gritty residues.
- If the mixture feels grainy, add 1‑2 Tbsp of melted coconut oil (cooled below 40 °C) to assist a smoother grind.
4.3 Sweeten & Emulsify
- In a small saucepan, gently warm your chosen sweetener with coconut oil over the lowest heat, never exceeding 40 °C.
- Stir until fully combined and smooth.
- Add the almond butter (or seed butter) and whisk until a homogeneous blend forms.
Why low heat? Maintaining a raw temperature preserves the delicate antioxidants and prevents the cocoa butter from separating.
4.4 Combine the Bases
- Pour the sweetened oil mixture into the bowl containing the ground cacao paste.
- Add sea salt and vanilla extract (if using).
- Using a spatula or hand‑mixer, blend on a low speed until the mixture is glossy, thick, and uniformly combined.
Visual cue: The blend should coat the back of a spoon and hold its shape when drizzled onto a surface.
4.5 Incorporate Superfood Boosters (Optional)
If you selected any optional boosters, fold them in now, spreading evenly so each bite carries their benefits.
4.6 Transfer to Molds
- Tap the silicone molds gently on the counter to release trapped air bubbles.
- Smooth the tops with a spatula for an even finish.
4.7 Chill & Set
- Place the molds on a wire rack and transfer them to the refrigerator (or a cool pantry) for 60 minutes.
- Do not freeze—extreme cold can cause the chocolate to develop a “fat bloom” (white specks), though this is only cosmetic.
4.8 Unmold & Finish
- After the bars are firm, pop them out of the molds.
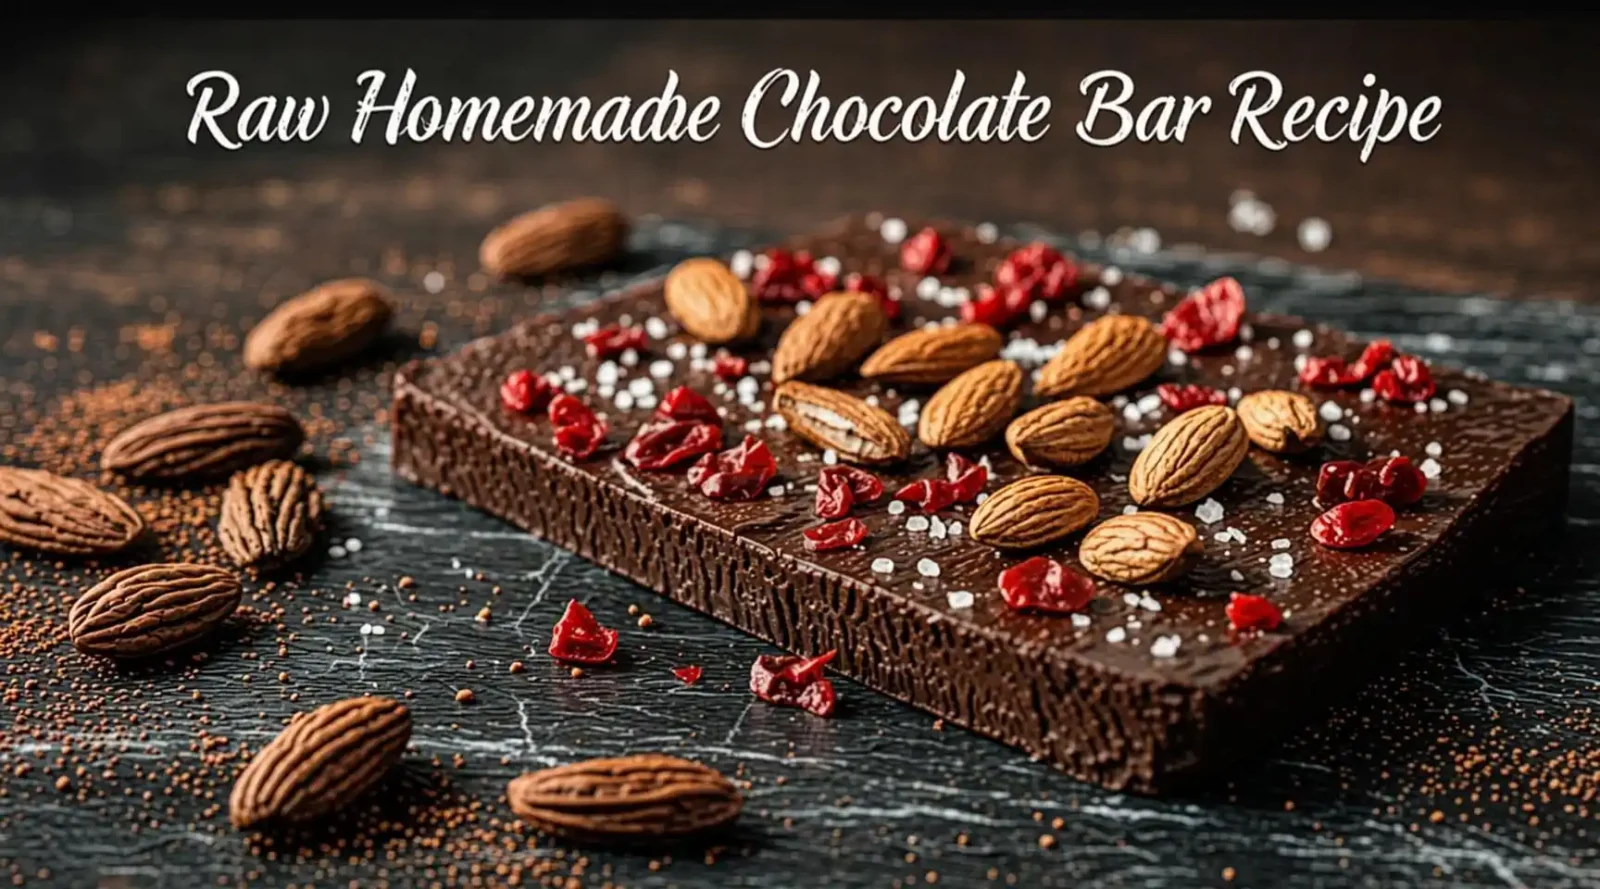
- Optional garnish: Sprinkle a pinch of sea salt, cacao nibs, or crushed dried fruit on top while still slightly soft for a decorative touch.
Your raw homemade chocolate bars are now ready to enjoy!
- Flavor‑Boosting Variations & Mix‑Ins
| Variation | Ingredients to Add | Suggested Pairings |
| Citrus Zest | 1 tsp orange zest, ½ tsp orange essential oil (food‑grade) | Dark fruit, tea |
| Spiced Chili | ¼ tsp cayenne pepper, ½ tsp smoked paprika | Margarita, craft beer |
| Berry‑Burst | 2 Tbsp freeze‑dried raspberry powder, crushed freeze‑dried strawberries | Yogurt parfait |
| Nut‑Free Crunch | 2 Tbsp toasted pumpkin seeds, 1 Tbsp hemp hearts | Oatmeal, smoothies |
| Coffee Infusion | 1 tsp instant espresso powder + 1 tsp finely ground cold‑brew coffee | Espresso martini |
| Golden Turmeric | ½ tsp turmeric + pinch black pepper | Warm milk, golden latte |
Tip: When adding dry powders (e.g., espresso, turmeric), sift them before folding to prevent lumps.
- Storing & Serving Your Raw Chocolate Bars
| Storage Method | Conditions | Shelf Life |
| Refrigerated | Airtight container, 4–6 °C (39–43 °F) | Up to 3 weeks |
| Cool Dark Pantry | < 20 °C (68 °F), low humidity, sealed jar | Up to 2 weeks |
| Freezer (optional) | Wrapped tightly in parchment + freezer bag, –18 °C (0 °F) | Up to 6 months (thaw 30 min before serving) |
When serving, let the bar sit at room temperature for 5‑10 minutes to release its full aroma. Pair with:
- Fresh berries or sliced banana
- A dollop of coconut whipped cream
- A splash of almond milk or oat milk for a raw chocolate milk
- Nutritional Snapshot (Per 30 g Bar)
| Nutrient | Amount |
| Calories | 150 kcal |
| Total Fat | 10 g (Saturated 7 g) |
| Carbohydrates | 12 g (Sugars 8 g) |
| Protein | 2 g |
| Fiber | 3 g |
| Magnesium | 90 mg (≈ 22 % DV) |
| Iron | 2 mg (≈ 10 % DV) |
| Antioxidant Capacity | ~10 × the ORAC value of a milk chocolate bar |
Numbers are approximations based on standard ingredient values. Exact values will vary with sweetener choice and optional mix‑ins.
- Frequently Asked Questions
Q1. Do I really need a high‑speed blender?
A: A strong blender or food processor ensures the cacao becomes a true paste rather than a gritty powder. If you use a coffee grinder, you’ll need to grind in small batches and may end up with a slightly coarser texture.
Q2. Can I use raw honey instead of a vegan sweetener?
A: Yes, raw honey works well, but it makes the bar non‑vegan. Keep the mixture below 40 °C to preserve honey’s enzymes.
Q3. My chocolate turned grainy—what happened?
A: Graininess usually means the cacao butter separated. This can result from overheating or using too much dry cacao. Re‑heat gently (under 40 °C) and whisk in a little more melted coconut oil until smooth.
Q4. Is raw chocolate safe for children?
A: Absolutely, as long as you avoid adding allergens they’re sensitive to. The caffeine level in raw cacao is modest (≈ 12 mg per 30 g bar), comparable to a cup of tea.
Q5. How can I make the bars sugar‑free?
A: Replace the sweetener with a natural, non‑caloric sweetener such as stevia or monk fruit blend. Adjust to taste—start with ¼ tsp and increase gradually.
- Final Thoughts & Inspiration
Raw chocolate isn’t just a trend; it’s a return to the cacao bean’s purest form. By mastering this homemade recipe, you gain control over the ingredients, nutrition, and flavor profile, allowing you to:
- Craft a personalized snack that fuels workouts, meditation, or a simple afternoon pick‑me‑up.
- Gift beautifully packaged bars to friends and family—nothing says “I care” like a bar made from scratch with love.
- Experiment endlessly: swap sweeteners, try exotic spices, or incorporate adaptogens like ashwagandha for an extra wellness boost.
Take a moment now: taste the bar you just created. Feel the glossy snap, the gentle melt, and the lingering notes of cocoa and sweetener—knowing you’ve preserved the very nutrients nature intended.
If you enjoyed this deep dive, subscribe for more raw food, vegan dessert, and clean‑eating content. Share your own versions on Instagram with the hashtags below and tag us—let’s build a community of chocolate lovers who value health as much as indulgence!
- Disclaimer & Safety Notice
Important: The nutritional information provided is an estimate based on standard ingredient values. Individual results may vary depending on specific brands, measurements, and optional add‑ins used. This recipe is not a medical prescription. If you have food allergies, medical conditions, or are pregnant, consult a qualified healthcare professional before incorporating raw chocolate or any new ingredient into your diet. Raw cacao contains caffeine and theobromine; consume responsibly, especially if you are sensitive to stimulants.
SEO Keywords (for reference)
- Raw chocolate bar
- Homemade chocolate recipe
- Vegan chocolate
- Raw cacao
- Healthy desserts
- DIY chocolate
Hashtags to Amplify Your Post
#RawChocolate #HomemadeChocolate #VeganDessert #HealthyTreats #DIYChocolate #CleanEating
Enjoy your creation, and remember—great chocolate starts with great cacao and a dash of love. Happy (raw) making!













Leave a comment