


















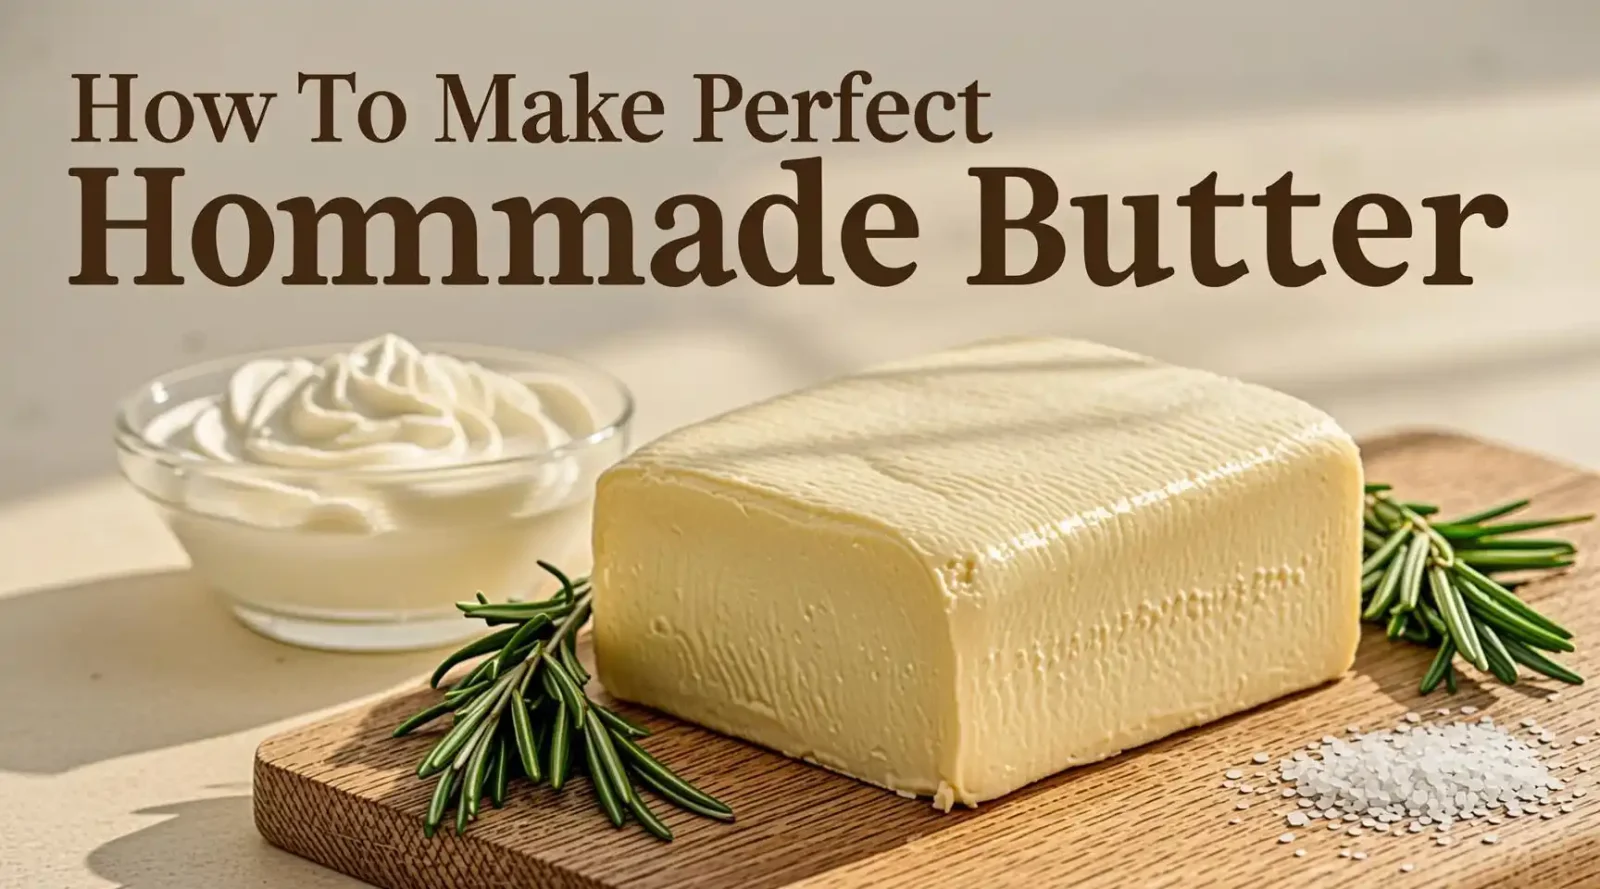
How to Make Perfect Homemade Butter – A Step‑by‑Step Guide for the Discerning Cook
Meta Description :
Discover the fool‑proof method for making perfect homemade butter. Learn the butter‑making process, essential tools, tips for flavor, and storage basics.
Introduction
Butter has been a culinary cornerstone for centuries, yet many modern kitchens rely on store‑bought varieties that can lack freshness, flavor, and control over ingredients. Crafting homemade butter at home allows you to experience the buttery richness of a product made from scratch, free from unnecessary additives and tailored to your taste preferences. This comprehensive guide walks you through the entire butter making process, from selecting the right cream to perfecting the texture and preserving your creation for maximum shelf life. By following these instructions, you’ll produce butter that rivals any artisan dairy and elevates everything from croissants to sauces.
- Understanding the Science Behind Butter
1.1 From Cream to Butter
Butter is essentially an emulsion of fat globules suspended in water. When heavy cream (typically 35‑40 % milk fat) is agitated, the fat molecules destabilize, coalesce, and separate from the liquid buttermilk. This physical transformation—known as churning—is the heart of the butter‑making process. The more consistent the agitation, the quicker the fat aggregates, resulting in a smoother, more cohesive butter.
1.2 Why Temperature Matters
The ideal temperature for churning is between 10 °C and 16 °C (50 °F‑60 °F). At this range, the fat remains pliable enough to merge without becoming overly hard, while the water phase remains fluid. Chilling the cream beforehand (but not freezing) improves yield and shortens processing time.
- Essential Equipment
| Item | Reason for Use |
| Stand mixer or hand‑crank butter churn | Provides steady, controllable agitation. |
| Fine‑mesh strainer or cheesecloth | Separates butter from buttermilk efficiently. |
| Cold water bowl | For washing the butter to remove residual buttermilk. |
| Spatula or wooden paddles | Helps shape and press the butter during washing and molding. |
| Scale (optional) | Accurate measurement of cream yield and butter weight. |
| Sanitized storage container | Maintains freshness and prevents contamination. |
Investing in a high‑quality stand mixer with a paddle attachment is often the most practical choice for home cooks aiming for consistent results. However, a simple hand‑crank butter churn works just as well for those who enjoy a more hands‑on experience.
- Selecting the Right Cream
3.1 Fresh, High‑Fat Cream
Use heavy cream or whipping cream that contains at least 35 % milk fat. The higher the fat content, the richer and more stable the butter. Look for cream that is:
- Unpasteurized if you have access to a reliable source (offers deeper flavor).
- Pasteurized and non‑ultra‑high‑temperature (UHT) if you prefer a longer shelf life.
- Free of stabilizers, thickeners, or added sugars.
3.2 Preparing the Cream
- Chill the cream for at least 2 hours before beginning.
- Pre‑measure 2 cups (≈ 480 ml) of cream per batch; this yields roughly 1 cup (≈ 225 g) of butter.
- Optional: Add a pinch of sea salt or a splash of cultured buttermilk to begin flavor development (see “Flavor Variations” below).
- Step‑by‑Step Butter‑Making Process
4.1 Phase I – Whipping
- Set the mixer to medium speed (≈ 300 RPM).
- Pour the chilled cream into the mixing bowl.
- Whip until soft peaks form (approximately 3‑4 minutes). At this stage, the cream has become whipped cream, and the fat globules are still loosely surrounded by air.
4.2 Phase II – Breaking
- Continue mixing at medium‑high speed.
- After another 3‑5 minutes, the mixture will start to look grainy; the buttermilk separates from the fat mass.
- When the butterfat clumps into a solid mass and releases a milky liquid, the butter is “broken.”
Tip: If using a hand‑crank churn, rotate the handle continuously for 8‑12 minutes; you’ll feel a change in resistance when the butter forms.
4.3 Phase III – Draining
- Position a fine‑mesh strainer over a large bowl.
- Pour the churned mixture into the strainer.
- Allow the buttermilk to collect in the bowl; you may gently press the butter with a spatula to extract as much liquid as possible.
Yield tip: Retaining a few tablespoons of buttermilk can be used later in baking recipes (e.g., pancakes or biscuits) to add flavor.
4.4 Phase IV – Washing
- Transfer the butter to a bowl of cold water.
- Knead the butter with clean hands or a paddle, pressing out remaining buttermilk.
- Drain the water and repeat the rinsing process 2‑3 times until the water runs clear.
Why wash? Residual buttermilk promotes spoilage; thorough washing extends shelf life and improves texture.
4.5 Phase V – Salting & Flavoring (Optional)
- Salted butter: Add ½ to 1 teaspoon of fine sea salt per cup of butter. Dissolve the salt in a teaspoon of warm water before mixing for even distribution.
- Herb butter: Finely chop fresh herbs (parsley, chives, dill) and fold them in after washing.
- Sweet butter: Add a drizzle of honey or maple syrup for a breakfast spread.
4.6 Phase VI – Shaping & Storing
- Press the butter into a parchment‑lined loaf pan, silicone mold, or butter dish.
- Smooth the surface with a spatula.
- Cover tightly with parchment paper or an airtight lid.
Storage recommendations:
- Refrigerated (4 °C / 39 °F): Keeps butter fresh for 2‑3 weeks.
- Freezer (‑18 °C / 0 °F): Extends shelf life up to 6 months; slice off portions as needed.
- Troubleshooting Common Issues
| Symptom | Possible Cause | Fix |
| Butter remains soft, watery | Incomplete washing; high temperature | Rinse longer with cold water; ensure cream was chilled. |
| Grainy texture | Over‑mixing after butter forms | Stop mixing once the butter lumps together; avoid excessive kneading. |
| Butter smells sour before spoilage | Residual buttermilk left inside | Perform an extra rinse; store in a clean, airtight container. |
| Low yield (little butter) | Cream with < 30 % fat | Use higher‑fat cream or blend cream with a small amount of melted butter to boost fat content. |
- Flavor Variations & Creative Uses
- Garlic‑Herb Butter: 2 cloves minced garlic + 1 tbsp chopped rosemary. Great for steak or roasted vegetables.
- Maple Walnut Butter: 1 tbsp pure maple syrup + ¼ cup toasted walnut pieces. Perfect on pancakes or oatmeal.
- Spicy Chili Butter: ½ tsp smoked paprika + a pinch of cayenne. Ideal for corn on the cob or grilled shrimp.
- Lemon Zest Butter: 1 tsp finely grated lemon zest + 1 tbsp honey. Excellent with sea‑salted caramel desserts.
Feel free to experiment with smoked salts, truffle oil, or even coffee grounds for a truly bespoke spread.
- Frequently Asked Questions (FAQ)
Q1. Can I make butter from low‑fat cream?
A: Technically, yes, but the yield will be very low and the texture may be crumbly. For best results, use cream with at least 35 % milk fat.
Q2. Do I need to pasteurize the butter after making it?
A: No. The churning process does not sterilize the product. Keep the butter refrigerated and practice good hygiene during preparation.
Q3. How long does homemade butter last?
A: When stored in the refrigerator at 4 °C (39 °F) it remains fresh for 2‑3 weeks. Freezing prolongs life to about 6 months.
Q4. Can I use cultured cream for a tangier butter?
A: Absolutely. Cultured cream adds a subtle acidity that mimics European “cultured butter,” delivering richer flavor.
Q5. Is it safe to consume raw butter?
A: If the cream is pasteurized and you follow proper washing and storage techniques, the butter is safe for most healthy individuals. Those with compromised immune systems should consult a healthcare professional.
- The Benefits of Making Your Own Butter
- Control over Ingredients: No hidden preservatives, colorings, or excess salt.
- Superior Freshness: Butter from the day it’s churned retains a bright, buttery aroma you won’t find in mass‑produced brands.
- Cost‑Effective: High‑quality cream yields a larger quantity of butter than most store‑bought equivalents.
- Creative Freedom: Customize flavor, texture, and salt level to suit any dish.
Investing a few minutes each week in the butter‑making process can transform the culinary experience for any home chef who values quality and authenticity.
- Final Thoughts
Making perfect homemade butter is a satisfying blend of culinary science and artisanal craft. By respecting temperature, using high‑fat cream, and following the systematic steps outlined above, you will consistently produce butter that is creamy, flavorful, and long‑lasting. Whether you intend to spread it on warm toast, melt it into a sauce, or incorporate it into baked goods, the difference between store‑bought and freshly churned butter is unmistakable.
Ready to start? Gather your cream, your mixer, and a clean work surface, then embark on a buttery adventure that will elevate every recipe you touch.
Keywords (for SEO)
- homemade butter
- butter making process
- how to make butter at home
- fresh butter recipe
- churn butter
- artisan butter
Hashtags (for social sharing)
#HomemadeButter #ButterMaking #ArtisanFood #DIYButter #FreshButter #CookingTips
Disclaimer
The information provided on this page is intended for educational and culinary purposes only. While we strive for accuracy, individual results may vary based on equipment, ingredient quality, and personal skill level. This guide does not constitute medical, nutritional, or food‑safety advice. Consumers with specific health conditions, allergies, or dietary restrictions should consult a qualified professional before incorporating homemade butter or any related products into their diet. The author and hosting website accept no liability for any adverse outcomes resulting from the preparation, handling, or consumption of homemade butter.













Leave a comment