


















How to Set Up Defender Pro on WordPress (Step‑by‑Step)
Your ultimate guide to bullet‑proofing your site with the leading security plugin.
Why Defender Pro?
If you’ve ever worried about brute‑force attacks, malicious code injections, or rogue plugins, you know that a single security lapse can cost you time, reputation, and money. Defender Pro is the premium version of the popular WordPress security suite from WPMU DEV, offering:
- Advanced firewall rules that block malicious requests before they hit your database.
- Scheduled malware scans with automatic quarantine.
- Two‑factor authentication (2FA) and login hardening for all user roles.
- Real‑time alerts via email, Slack, or SMS.
All of this runs on a lightweight codebase that won’t slow down your site—a rare combination of power and performance.
Below you’ll find a complete, beginner‑friendly walkthrough that takes you from a fresh WordPress install to a fully protected website.
Table of Contents
- Prerequisites
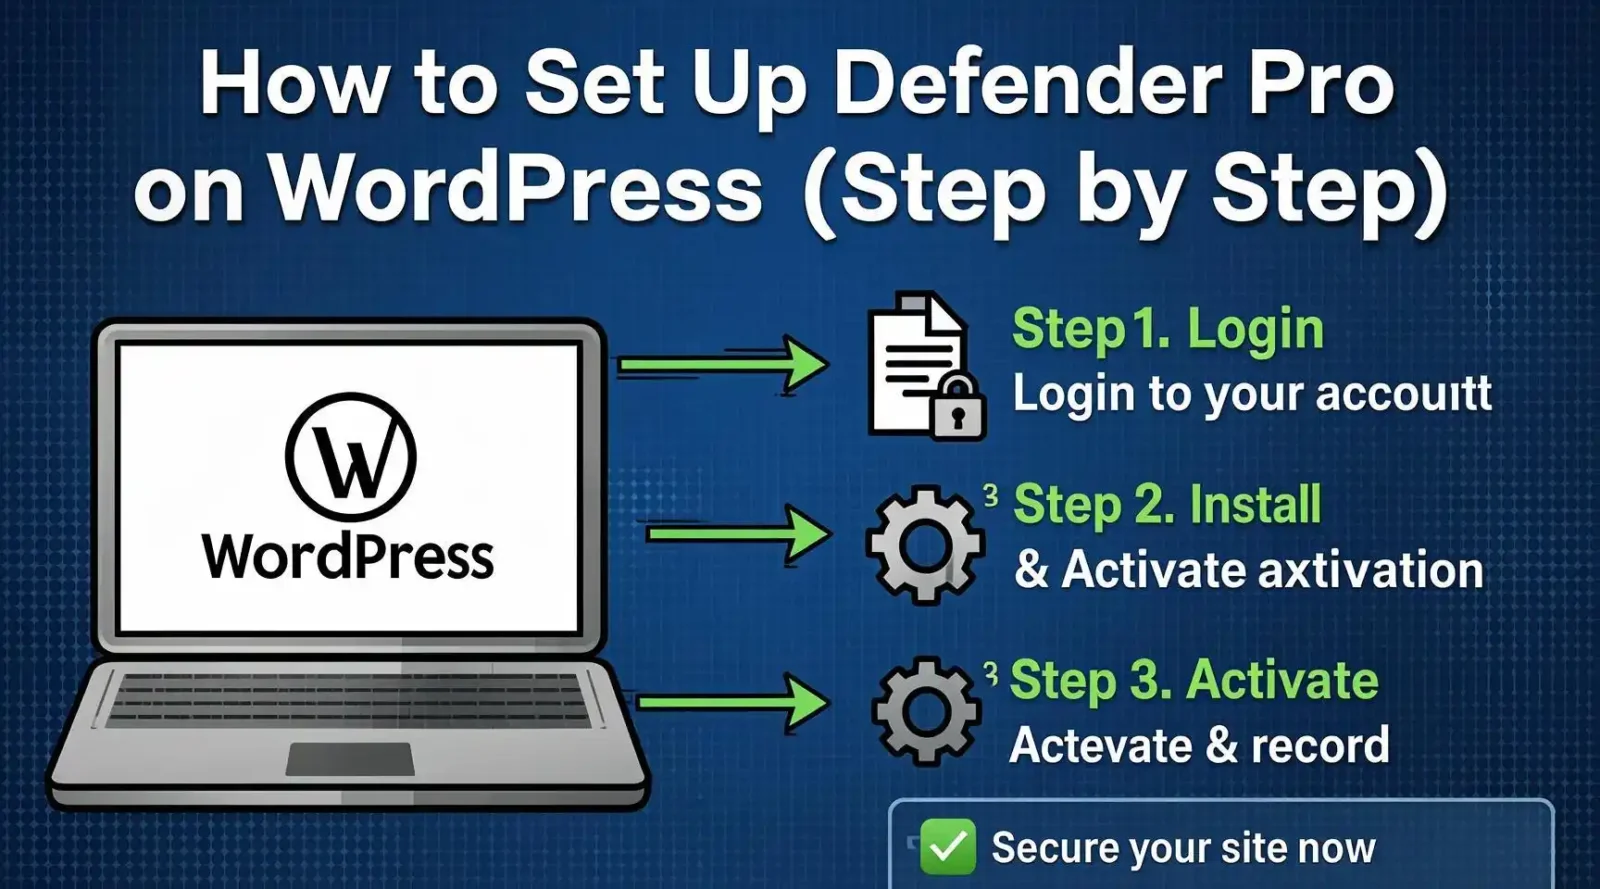
- Install & Activate Defender Pro
- Activate Your License
- [Configure the Core Settings] (#core-settings)
- Firewall
- Hardening
- Scheduled Scans
- Login Protection (2FA)
- Fine‑Tune Notifications & Reporting
- Optional: Integration With Other Tools
- Testing Your Setup
- Next Steps & Ongoing Maintenance
- Disclaimer
- Prerequisites
| ✔️ | Item | Why It Matters |
| 1 | A self‑hosted WordPress site (not WordPress.com) running PHP 7.4+ and MySQL 5.6+ | Defender Pro requires full file‑system access for scanning and hardening. |
| 2 | Admin access to the WordPress dashboard | Only admins can install plugins and change security settings. |
| 3 | A WPMU DEV membership (or a standalone Defender Pro license) | The Pro version is a paid product; a free trial is also available. |
| 4 | Backup solution (e.g., UpdraftPlus, Jetpack Backups) | If anything goes wrong, you can instantly revert. |
Tip: Take a fresh backup before you start. A simple one‑click backup will save you headaches later.
- Install & Activate Defender Pro
- Log in to your WordPress admin (yoursite.com/wp-admin).
- Navigate to Plugins → Add New.
- In the search bar, type “Defender”. The free version will appear first.
- Click Install Now on Defender – Security & Malware Scan (the free version).
- After installation, click Activate.
Note: Even though you’re going to use the Pro features, the free version is the base package that the Pro upgrade hooks into.
- Activate Your License
- In the left‑hand menu, you’ll now see Defender → Dashboard.
- Click the “Upgrade to Pro” button at the top right.
- You’ll be redirected to the WPMU DEV portal. Log in or create an account, then purchase (or start a free trial).
- After purchase, you’ll receive an API key.
- Return to your WordPress dashboard → Defender → Settings → License.
- Paste the API key and click Activate.
If the activation fails, double‑check that the key matches exactly and that your site can make outbound HTTPS requests (no firewall blocking api.wpmudev.org).
- Configure the Core Settings
- Firewall (Web Application Firewall – WAF)
- Go to Defender → Firewall.
- Toggle “Enable Firewall” to On.
- Choose “Automatic mode” for most sites—Defender will auto‑populate the most common rules.
- Review the “IP Blacklist” and “Rate Limiting” sections:
- Add any known malicious IPs.
- Set rate‑limit thresholds (e.g., block after 5 failed attempts in 30 seconds).
Pro tip: Enable “Country Blocking” if you receive traffic from regions you don’t serve.
- Hardening (File & Database Protection)
- Navigate to Defender → Hardening.
- Click “Run Hardening Scan”.
- Defender will list recommendations such as:
- Disable file editing (DISALLOW_FILE_EDIT).
- Hide WordPress version.
- Restrict PHP execution in the uploads folder.
- Click “Apply Fix” for each recommendation. Defender writes the necessary rules to .htaccess or wp-config.php automatically.
- Scheduled Scans
- Head to Defender → Scan.
- Click “Schedule Scan”.
- Choose a frequency (daily, weekly, or monthly) and a time when your site experiences low traffic.
- Select the scan depth (core files, plugins, themes, custom uploads).
- Turn on “Email Notification” for scan results.
- Login Protection (2FA & Brute‑Force Guard)
- Open Defender → Login Protection.
- Enable “Limit Login Attempts” (default is 5 attempts).
- Turn on Two‑Factor Authentication:
- Choose the provider (Google Authenticator, Authy, or email token).
- Enforce 2FA for Administrator role; optionally extend to Editor or Subscriber.
- Save changes.
- Fine‑Tune Notifications & Reporting
Why bother? Real‑time alerts keep you ahead of an attack before it impacts visitors.
- Go to Defender → Settings → Alerts.
- Choose delivery channels:
- Email (default)
- Slack webhook (great for dev teams)
- SMS (via Twilio integration)
- Select which events trigger alerts:
- Firewall blocks
- Login failures
- Malware detection
- Click Save Settings.
You can also generate a monthly security report (Defender → Reports) and schedule it to land in your inbox automatically.
- Optional: Integration With Other Tools
| Integration | Use‑Case | Setup Steps |
| WP‑CLI | Run scans & apply hardening via command line (useful for automated CI pipelines). | wp defender scan run wp defender hardening apply |
| Backup Plugins | Auto‑pause backups during a deep scan to avoid I/O spikes. | Add a Hook in your backup plugin to listen for defender_scan_started. |
| Performance Caching (e.g., WP Rocket) | Ensure caching layers respect Defender’s firewall rules. | Whitelist defender-waf cookie in the caching settings. |
- Testing Your Setup
- Firewall Test – Use an online service like https://httpsecurity.io/ to send a simulated attack. Verify that Defender logs a blocked request.
- Login Protection – Log out, then attempt a few wrong passwords. Confirm you receive a “Too many attempts” message and that your 2FA prompt appears.
- Scan Test – Temporarily upload a benign test file (e.g., eicar.com) into wp-content/uploads. Run a manual scan and ensure Defender flags it.
If any of these tests fail, revisit the corresponding setting or check the Defender → Logs page for errors.
- Next Steps & Ongoing Maintenance
- Keep Defender Pro updated – New rule‑sets are released regularly to counter emerging threats.
- Review the firewall logs weekly to spot suspicious IPs or patterns.
- Rotate your 2FA keys yearly, especially for high‑privilege accounts.
- Combine with a Web Application Firewall (Cloudflare or Sucuri) for defense‑in‑depth.
Security is a process, not a one‑time checkbox. With Defender Pro correctly configured, you’ve built a solid foundation—now just stay vigilant.
Disclaimer
The instructions in this post are provided as‑is for informational purposes only. While every effort has been made to ensure accuracy, the author and the publishing platform are not liable for any loss, damage, or downtime resulting from the implementation of these steps. Always maintain a recent backup of your site before making changes to plugins or server configurations. Affiliate links may be present; they do not affect the editorial integrity of the content.
Ready to lock down your WordPress site?
👉 Take action now: Install Defender, activate your Pro license, and run your first scan.
🎯 Stay secure: Subscribe to our newsletter for monthly security checklists and plugin updates.
Keywords: Defender Pro setup, WordPress security plugin, malware protection
Hashtags: #WordPress #DefenderPro #WebsiteSecurity











Leave a comment